How to dye leather
Do you want to dye your leather as it’s now starting to wear out, and there seems to be no other way of fixing it? You are at the right place, as we are ready to help you with the dying process. Though it might not seem easy and may take several tries to get the desired result, the proper techniques and the correct know-how will surely be worth it.
In this guide, we take you on the journey of applying a perfect coat of dye on leather with a simple step-by-step process that any newbie would find effortless.
Read on to find out how to dye leather in easy steps.
How to dye leather
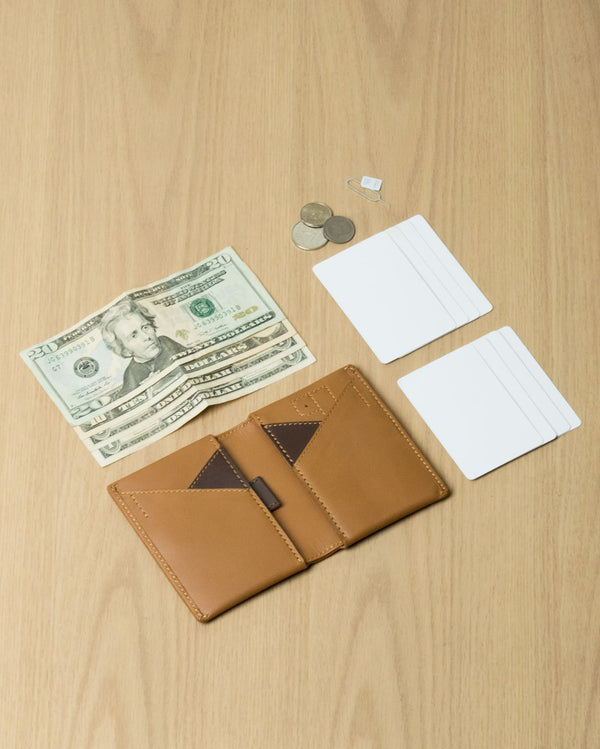
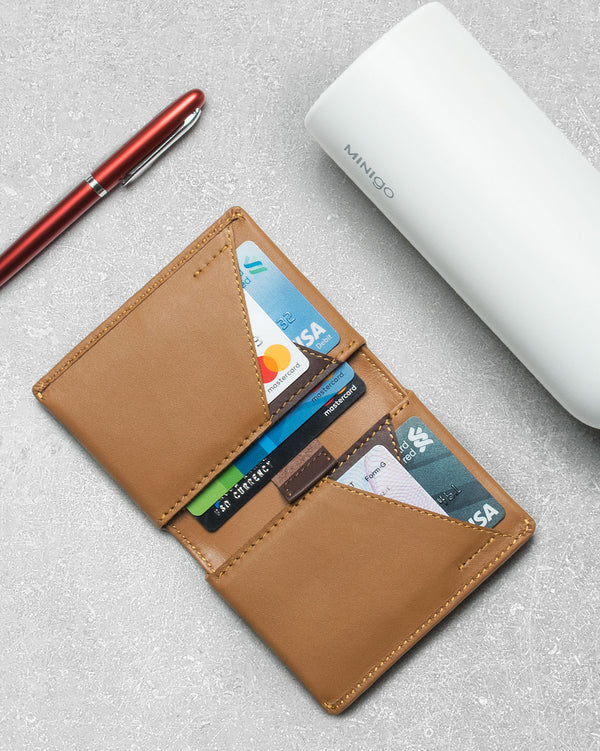
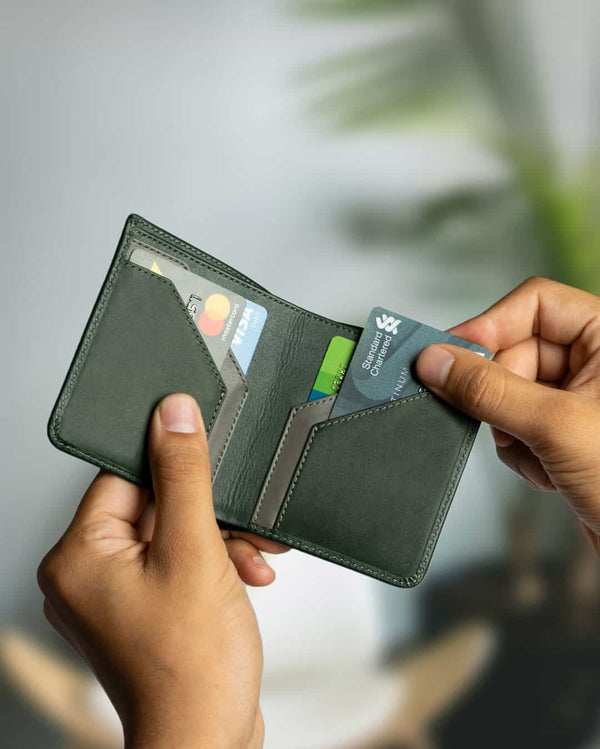
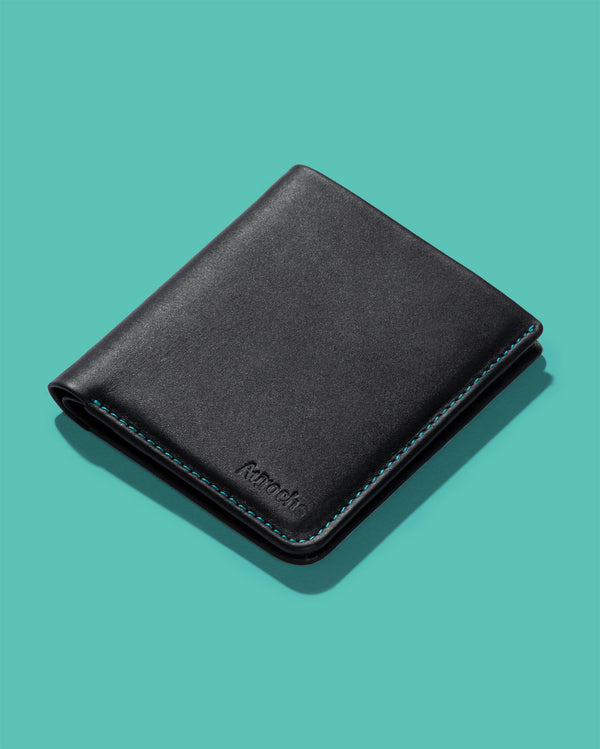
Dyeing leather is not as tricky as it seems. Whether it's your leather wallet, shoes, or jacket, you need to be mindful of what type of leather you are working on and then choose a dye according to it; this will ensure that you have selected the right dye color.
Here are 7 simple steps to dyeing your leather.
Prepare your workstation
Whether you're inside or outside, the key to successfully dyeing leather is having the right setup. If you're indoors, use a big table, open windows, and use a fan to spread out the dye smell. Keep the room cozy at 70 degrees Fahrenheit, and cover your workspace with a large trash bag for protection. If you're outside, pick a warm, calm day, stay in the shade, wear gloves, and place old towels on the ground to prevent spills.
Apply your deglazer
Take a tidy cloth and use a deglazer or leather preparer on your leather. This helps remove the seal on the leather, allowing the fibers to absorb the dye better. If you're dealing with leather shoes, take off the shoelaces and put crumpled paper inside to keep them from getting wet.
Sprinkle some water
Use a small amount of water to dampen the surface of the leather. A fine coating of water allows the dye to be absorbed uniformly by the leather, ensuring that the dyed leather is going to be for the next step.
Apply the first coat
Now, it's time to start the leather dye application. Grab a paintbrush and smoothly apply the first layer of olive oil-based dye, ensuring you reach every edge of the leather.
If concealing brush strokes proves challenging, switch to a cotton ball, sponge, or soft cotton rags to gently fill the remaining surface, applying dye in circular motions.
The dyeing process allows for flexibility, so if you're not keen on these details, don't worry; you get to shape the method according to your preferences.
Let it dry
The next thing to do is to let your work dry for some time.
It will take about a whole day for the leather to dry completely. Put it in a cool, dry place with good air and a bit of sunlight from the side. But be careful of the hot sun directly touching it, making the leather dry and crack.
Add more coats
Now that the first layer is totally dry, you can apply another thin layer of dye to ensure the leather item gets an even coating. Some of you might want to stop here, but putting on at least three layers of dye is recommended.
Buff the leather
At this point, you must’ve achieved the desired leather shade.
Consider using a leather finisher or conditioner to give it a shiny appearance. Buff the surface with a clean, dry cloth along with these products for a flawless finish that rejuvenates your leather.
Take this opportunity to tidy up any extra dye, especially if you've used an oil dye or a similar substance. Some leather conditioners work well for this purpose too!
Once you're completely happy with the end result, clean your work area while allowing the leather to dry once more.
Tips for Dyeing Leather
Dyeing leather to give it a new look is never going to bore you out!
Whether you're working on an old leather item or creating something new, there are some simple tips to make sure it turns out great. From picking the right dye to figuring out how to put it on, these additional tips will help you make your leather colorful and uniquely yours.
Use different types of tools
Various tools serve distinct purposes in your dyeing process. Sponges contribute texture, cotton balls prove effective for reaching smaller areas, and sprayers play a role in blending colors.
Test your dye
The color in the dye bottle might look different from the final shade on your leather. Test a small sample to see how the color turns out. If does not match, you can mix various colors to get the one you want.
Dip-dye the leather
For dip-dyeing your leather, get some extra dye. Put the dye into a bowl or a container you're okay with using just for this purpose. Ensure there's enough dye to fully cover your belt, wallet pieces, or whatever leather items you're working on. Dip them into the dye for a short time, take them out, and let them air-dry overnight. This dipping technique is a speedy way to ensure an even and consistent color coating.
Conclusion
Now that you’ve added life to your leather, you can call it uniquely yours. Remember, it’s essential to follow the steps and make sure you use the correct type of leather dye. Doing so will definitely bring about vibrant change in your leather. Enjoy the colorful journey!